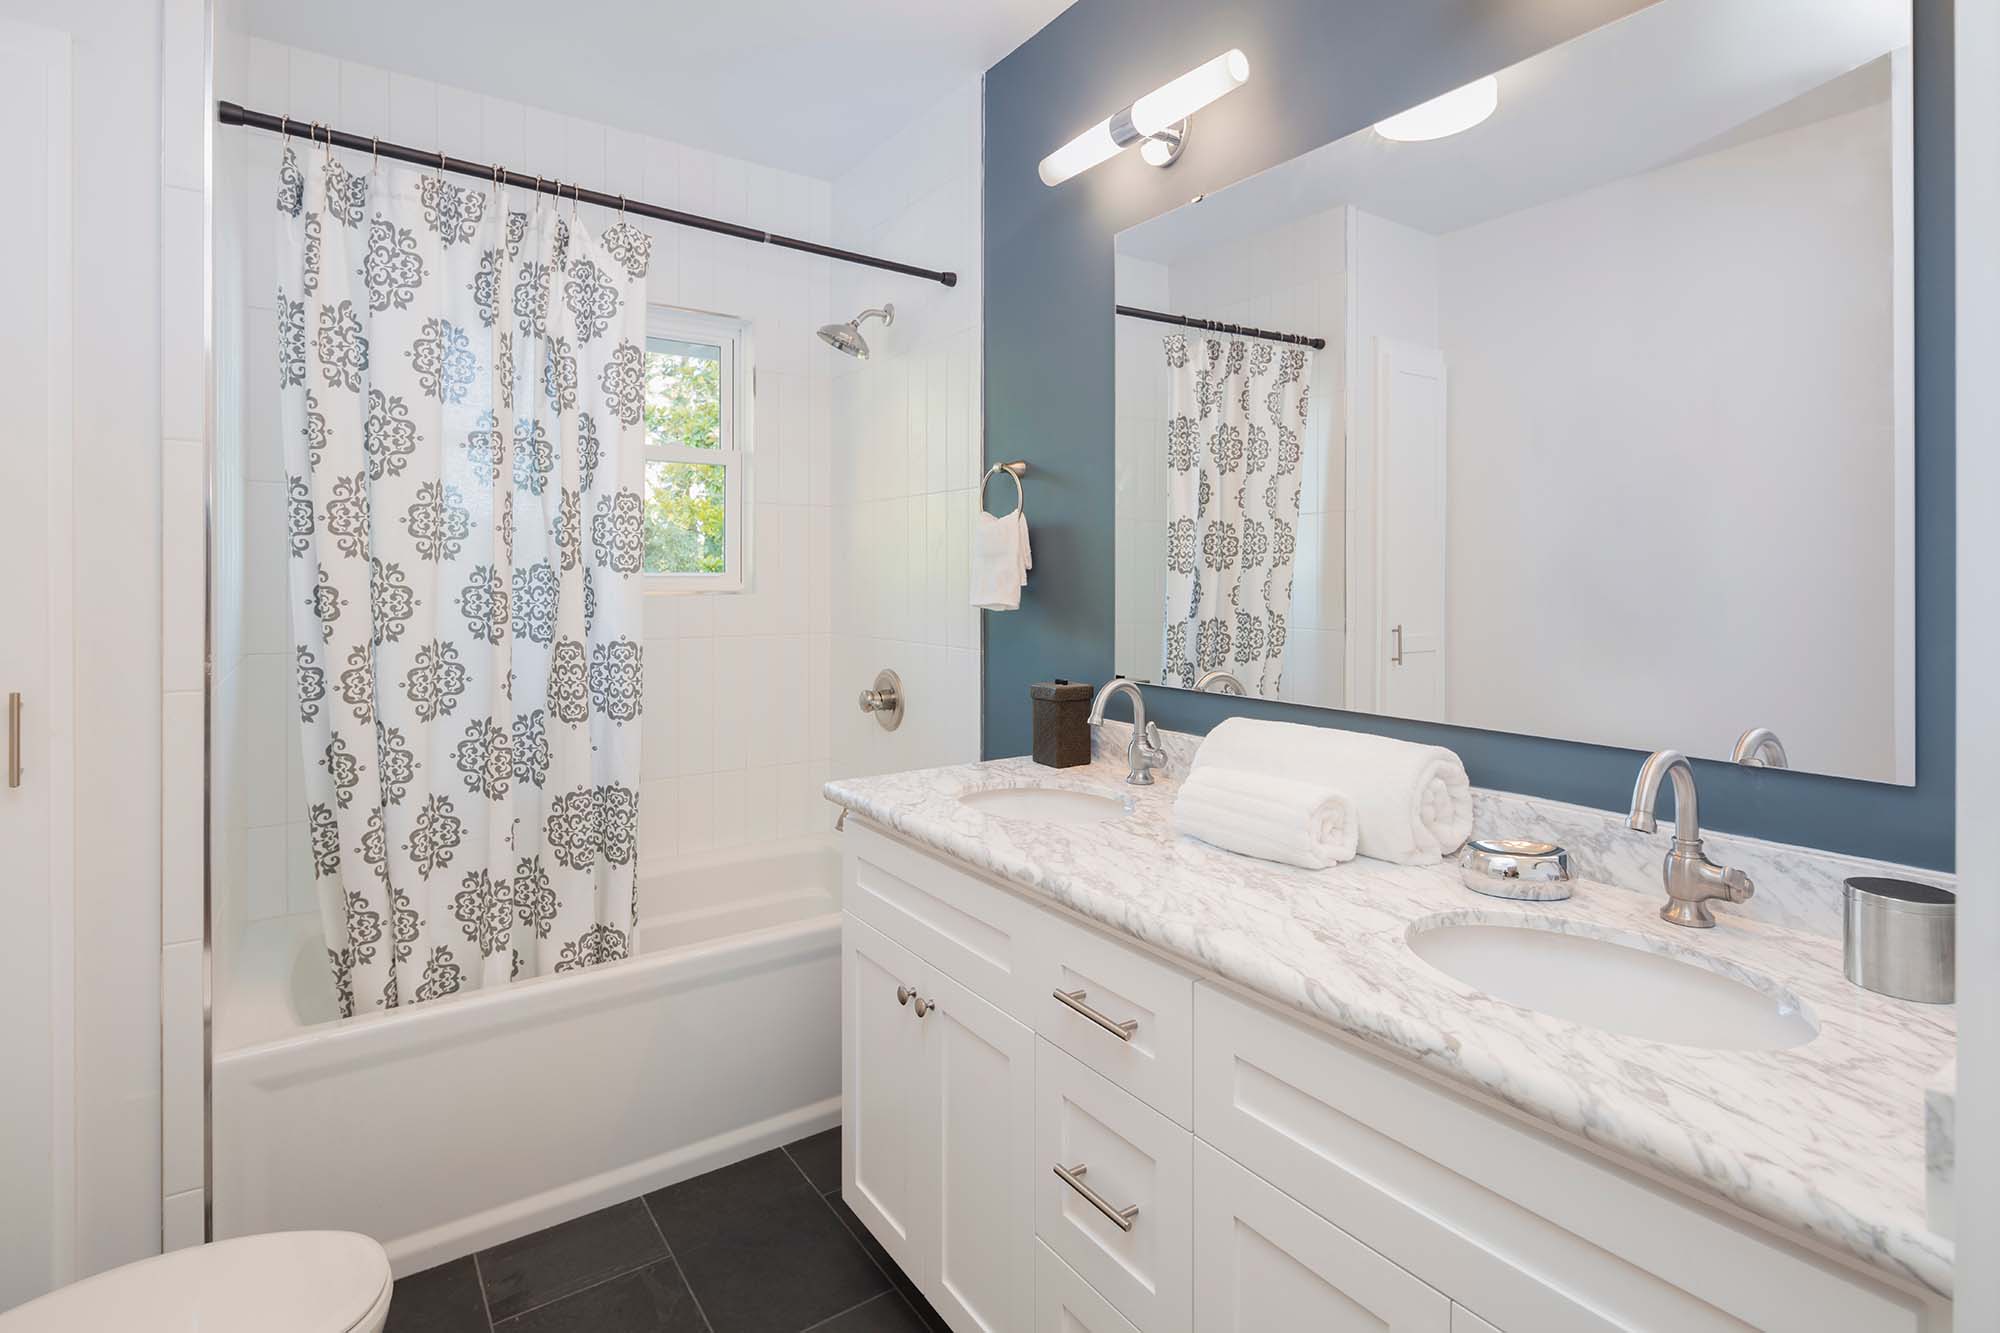
In a small bathroom, tile isn’t just a finish. It’s geometry, light control, slip resistance, and cleaning reality. At Complete Flooring, we see Tucson homeowners fall into the same trap: choosing a tile size because it looks gorgeous in a showroom photo, then realizing the proportions, cuts, and installation tolerances don’t match a compact bath. If you want a bathroom that feels calmer, larger, and easier to live with, tile sizing is the first “hidden lever” to pull.
And yes, the right choice depends on your actual space, your substrate, and your lighting. If you want to see options in person and compare finishes under real lighting, visit us at Tucson, AZ.
Start with the constraints that actually matter
Before we talk sizes, three technical factors drive success in small Tucson bathrooms:
Substrate flatness
Large-format tile demands flatter walls and floors. The bigger the tile, the less forgiving it is. If your slab or underlayment isn’t within spec, you’ll fight lippage (edges that sit higher than the next tile) and uneven grout joints.Cut complexity
In small rooms, you have lots of interruptions: toilet flange, vanity plumbing, shower valve, niches, door casing, vents. Big tiles mean bigger, more obvious cuts. Too many slivers and awkward corners can make a space feel more chaotic, not less.Slip + cleaning
Bathrooms combine water, soaps, and sometimes hard-water spotting. Finish choice (matte vs polished), texture, and grout strategy often matter more than tile size.
The best tile sizes for small bathrooms
1) 12x24
Why it works:
Big enough to reduce grout lines (less visual clutter).
Small enough to navigate a tight floor plan without excessive slivers.
Widely available in porcelain with solid performance and finish options.
Technical notes:
On floors, choose a finish with appropriate traction for wet areas.
On walls, 12x24 can create a clean, modern look with fewer joints, but prep still matters.
Layout tip:
In a narrow bathroom, running 12x24 lengthwise can visually “stretch” the room. But don’t force it. A good installer will “dry lay” or map it to avoid tiny pieces at the doorway and vanity.
2) 8x8 or 8x16
Why it works:
Keeps scale friendly in compact rooms.
Helps avoid awkward cuts around fixtures.
Great for creating a subtle pattern or texture without overpowering.
Technical notes:
More grout lines than 12x24, but still manageable.
Good choice if your floor has minor flatness variation and you want extra forgiveness.
3) 2x2 mosaics
Why it works:
Conforms to shower pan slopes properly.
Increases grout surface area for grip.
Technical notes:
More grout means more maintenance, so grout selection matters (and sealing strategy if applicable).
Pair mosaics on the shower floor with larger tiles on walls for a balanced look
.
4) 4x12 or 3x12 subway formats
Why it works:
Classic proportions.
Flexible layout options (stacked, running bond, vertical) that change how “tall” the room feels.
Technical notes:
Great for shower walls where plumbing penetrations and niches create complex cuts.
When large-format tile backfires in a small bathroom
Large-format can look incredible, but it’s not “automatic luxury.” Here’s where it commonly goes wrong:
1) Flatness requirements get expensive fast
If your slab or wall has dips or humps, large tile telegraphs it. Fixing it can mean grinding, patching, leveling compounds, or wall float work. In small bathrooms, the prep can cost as much as the tile.
2) Lippage becomes more visible
Even minor lippage stands out when light rakes across the floor, especially with bathroom lighting that often hits from above and angles near mirrors and vanities. Tucson daylight also reveals surface inconsistencies.
3) Too many cuts ruin the “big slab” vibe
A tiny bathroom with a toilet, vanity, and a tub/shower surround forces many cuts. The end result can look like a collage of rectangles rather than clean planes.
4) Offset patterns can amplify bowing
Many rectangular tiles have slight curvature. If you install them at a 50% offset (classic “brick” pattern), the high points can stack, making lippage worse. A 1/3 offset is often safer for large rectangles.
Bathroom tile sizing “recipe” that usually wins
If you want a reliable, high-performing, low-regret plan:
Floor: 12x24 porcelain (or 8x16 for tighter rooms)
Shower floor: 2x2 mosaics (or similar) for slope + slip control
Shower walls: 12x24 or 4x12 depending on niche/cut complexity
Grout joints: sized to the tile and substrate reality, not just the photo you saved
The right tile size makes a small bathroom feel calmer, brighter, and easier to maintain, but it only works when you match it to real-world constraints: flatness, cut mapping, slip needs, and cleaning habits. If you’re planning a bathroom update, Complete Flooring can help you choose tile sizes and finishes that actually fit your space, not just the trend cycle.
Ready to plan it properly? Visit us, or contact Complete Flooring to get guidance on tile selection and sizing for bathrooms across Tucson, Oro Valley, Marana, Saddlebrook, and Green Valley, AZ.